Window films are one of the most searched building upgrades in Toronto right now, and for good reason. When summer heat hits the GTA, offices, retail stores, and commercial buildings heat up fast. AC systems run all day. Energy bills spike. Staff complain about hot spots near windows.
That’s where window films, especially heat control window films, come into play.
Commercial property owners across Toronto and the GTA use window films to block heat, lower cooling costs, and make indoor spaces easier to work in. This page explains how window films work, why they matter in our climate, and where they make the biggest difference.
If you manage or own a commercial space with lots of glass, this is worth reading.
What Window Films Are and Why Commercial Buildings Use Them
Window films are thin layers applied directly to existing glass. They can look clear, lightly tinted, or slightly reflective. In commercial buildings, the goal is control.
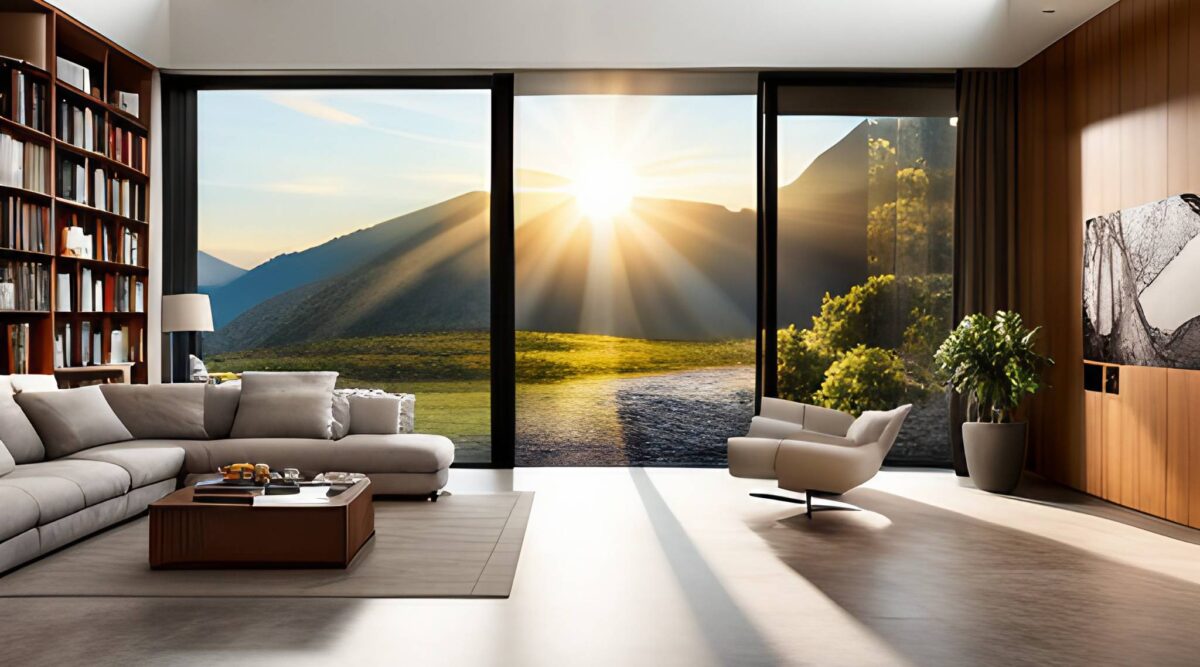
Most heat enters a building through glass. Sunlight carries infrared heat and UV rays. Once it passes through untreated windows, the heat stays inside. Blinds and curtains do not stop this. They only block light after the heat is already in the room.
Heat control window films work before that happens.
When installed, window films reflect and absorb solar heat at the glass surface. That reduces how much heat enters the space. AC systems do less work. Indoor temperatures feel more even.
- Rooms near windows feel too hot
- Staff avoid desks near glass
- AC runs longer than it should
- Energy bills keep climbing
- Sun glare hits screens and displays
Window films solve these problems without changing the building structure.
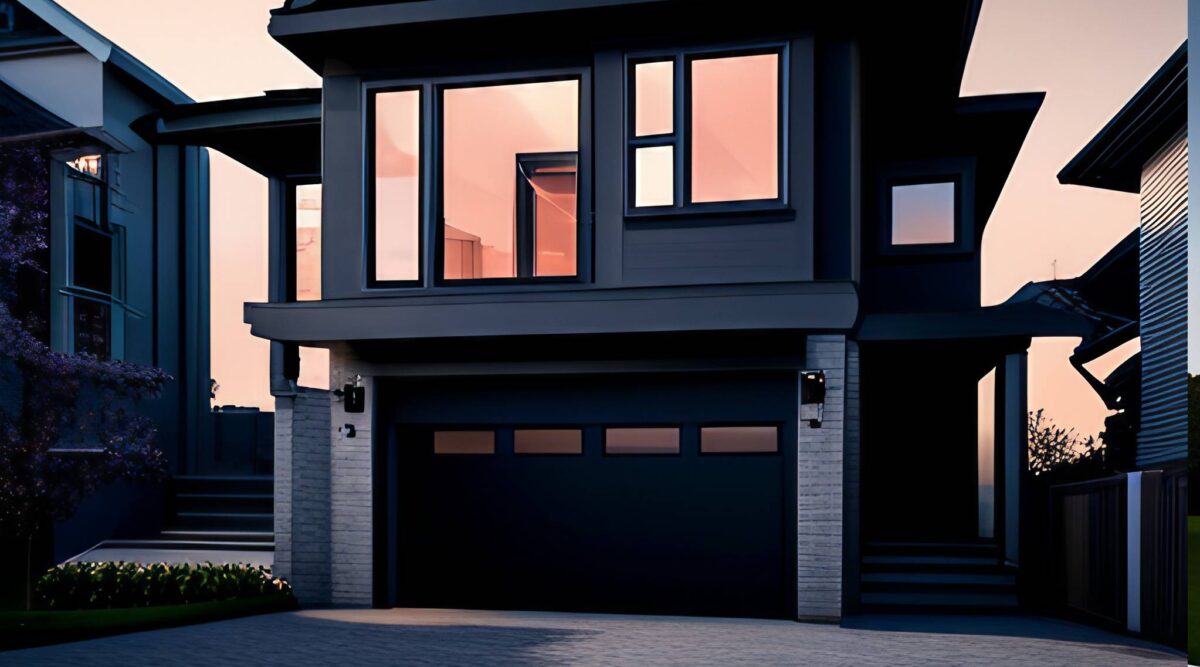
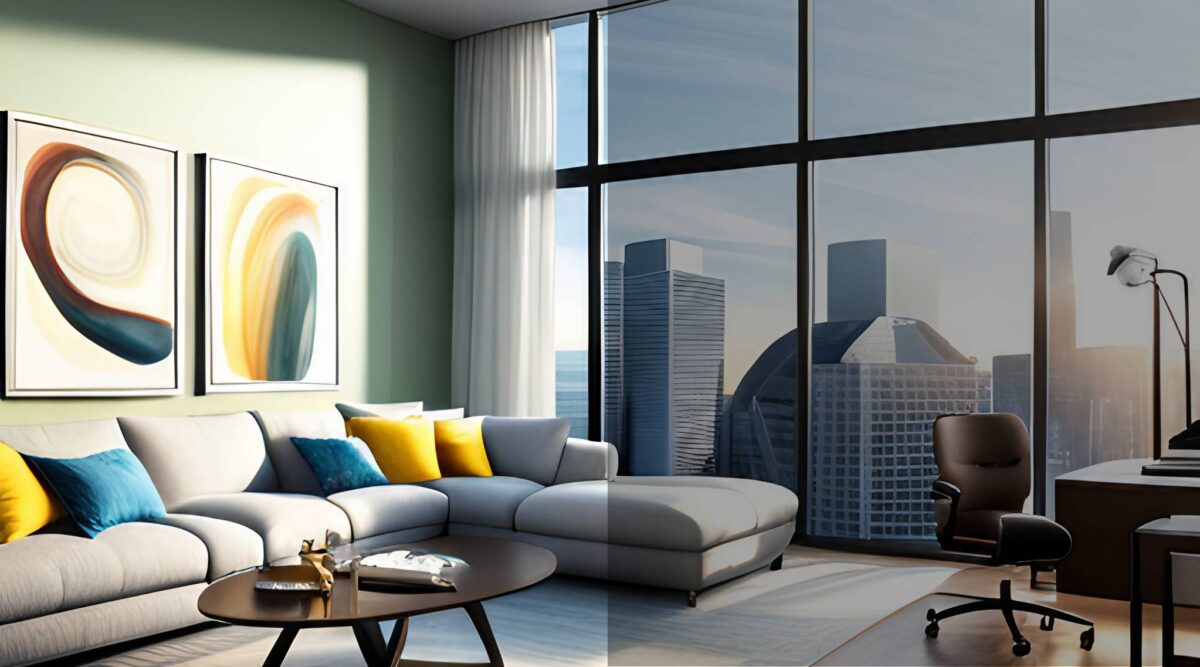
In Toronto, south- and west-facing windows take full sun for hours. Glass towers in downtown Toronto, North York, and Mississauga deal with heat gain all summer and glare year round.
Window films are not decorative add-ons. They are performance upgrades for glass-heavy buildings.
How Heat Control Window Films Reduce Energy Use in the GTA
The idea is simple.
Sun hits the window. Heat follows. AC turns on.
Window films interrupt that cycle.
Heat control window films reduce energy use in three ways:
- They reflect a large portion of infrared heat away from the glass
- They absorb some heat inside the film layer instead of inside the room
- They block UV rays that add heat and damage interiors
When less heat enters the space, cooling systems cycle less often. That’s where energy savings come from.
A recent install near Yonge and Eglinton showed this clearly. The office had floor-to-ceiling glass on two sides. In summer, staff complained daily about heat near the windows. After installing heat control window film, indoor temperatures dropped and complaints stopped.
Another case involved a retail unit in Vaughan with west-facing storefront windows. Afternoon sun made the space uncomfortable and products faded fast. Window films reduced glare, blocked UV, and kept the store cooler during peak hours.
This is why energy savings from window films show up fast in Toronto. Summers are intense. Any reduction in heat gain has a direct impact on cooling costs.
Window Films vs Blinds, Curtains, and Window Replacement
Many commercial buildings try quick fixes first.
Blinds. Shades. Curtains.
They help with glare but not with heat. The heat already passed through the glass.
Window replacement works, but it is expensive and disruptive. In the GTA, replacement often means permits, noise, downtime, and high cost.
Window films sit between these two options.
They install on existing glass. No shutdowns. No construction. No tenant disruption.
For a clear breakdown, see: Window Films vs Window Replacements
- Blinds: low cost, no energy control
- New windows: high cost, long timelines
- Window films: moderate cost, fast results
This balance explains why window films are common in offices, clinics, schools, and retail plazas across Toronto.
Where Window Films Work Best in Toronto Commercial Spaces
Window films have the biggest impact where sun exposure is high.
- South-facing offices
- West-facing storefronts
- Corner units with glass on two sides
- High-rise towers
- Buildings near Lake Ontario
A building near Union Station had meeting rooms that were unusable in the afternoon. After window films were installed, screens became visible and the rooms felt cooler.
In Scarborough, a medical clinic used window films to control heat without blocking daylight. Patients stayed comfortable and staff stopped adjusting thermostats.
For heat and UV control options, see: solar window film strategies .
Comfort, UV Protection, and Long-Term Value of Window Films
Energy savings matter, but comfort keeps people happy.
Heat through glass causes hot spots, glare, and uneven rooms. Window films help balance indoor conditions.
- Lower monthly energy bills
- Longer HVAC system life
- Fewer service calls
- Less glare on screens
- Better indoor comfort
Window films also block UV rays. Flooring, furniture, signage, and merchandise last longer when UV exposure drops.
For a building science overview, see: Natural Resources Canada – Building Energy Efficiency .
Why Professional Installation Matters for Window Films
Window films only work when installed properly.
Toronto buildings face large temperature swings. Poor installs lead to bubbling, peeling, and edge failure.
Professional installers understand local glass types, humidity, and curing times.
Before installing window films, review: key installation considerations .
Many failed installs were done cheaply the first time. Corners lifted after one winter. Film discoloured. Adhesive failed.
Choosing the Right Window Films for Energy Control
Not all window films look dark. Many are nearly invisible from the inside.
The right choice depends on window orientation, glass type, and light needs.
For energy-focused buildings, see: this energy efficiency guide .
Window Films and Toronto’s Climate Reality
Toronto summers are hot and humid. Winters are bright and cold. Glass buildings struggle in both seasons.
Window films reduce heat gain in summer and limit heat loss through glass in colder months.
When Window Films Make Sense for Commercial Properties
Window films are a strong option if your building has large glass areas, high cooling costs, or regular comfort complaints.
Even newer buildings benefit because AC systems work less.
Property managers often choose window films because installs are fast and approvals are simple.
Final Thoughts on Window Films for Toronto Businesses
Window films are one of the simplest ways to improve comfort and reduce energy use in Toronto commercial buildings.
They work with existing glass. They show results fast. They solve real problems people feel every day.
If your building heats up near the windows or your AC runs nonstop in summer, window films are worth serious attention.
They don’t change how your building looks. They change how it performs.