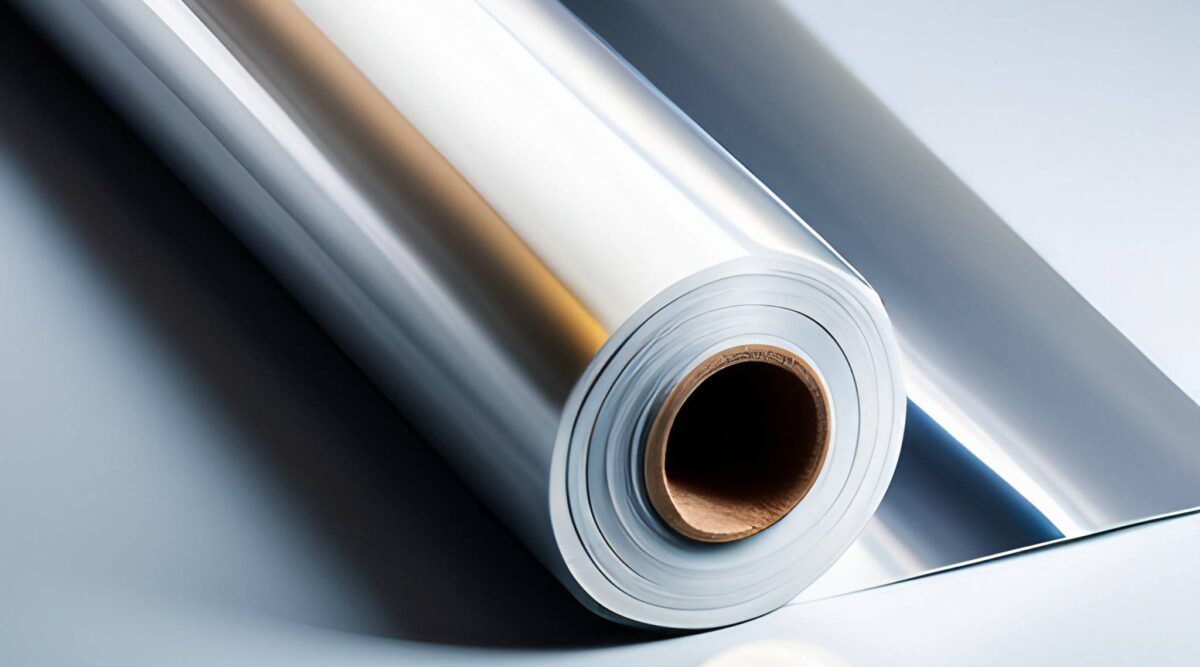
Applying window film is a practical and stylish way to enhance the aesthetics of your interior spaces while improving energy efficiency. It offers a versatile solution for anyone looking to upgrade their living or work environment. Whether you’re an interior designer aiming to provide clients with cost-effective solutions or a homeowner seeking to refresh your space, window film installation can be a valuable addition to your toolbox. Not only does it offer aesthetic benefits, but it also serves functional purposes that can significantly improve the quality of your indoor environment.
In this comprehensive guide, we’ll walk you through the process of applying window film, ensuring that you achieve a professional finish that adds both beauty and function to any room. From selecting the right type of film to mastering the installation technique, you’ll gain the insights needed to successfully implement this enhancement. With the right preparation and attention to detail, your windows can become a focal point that transforms the ambiance of your entire home or office.

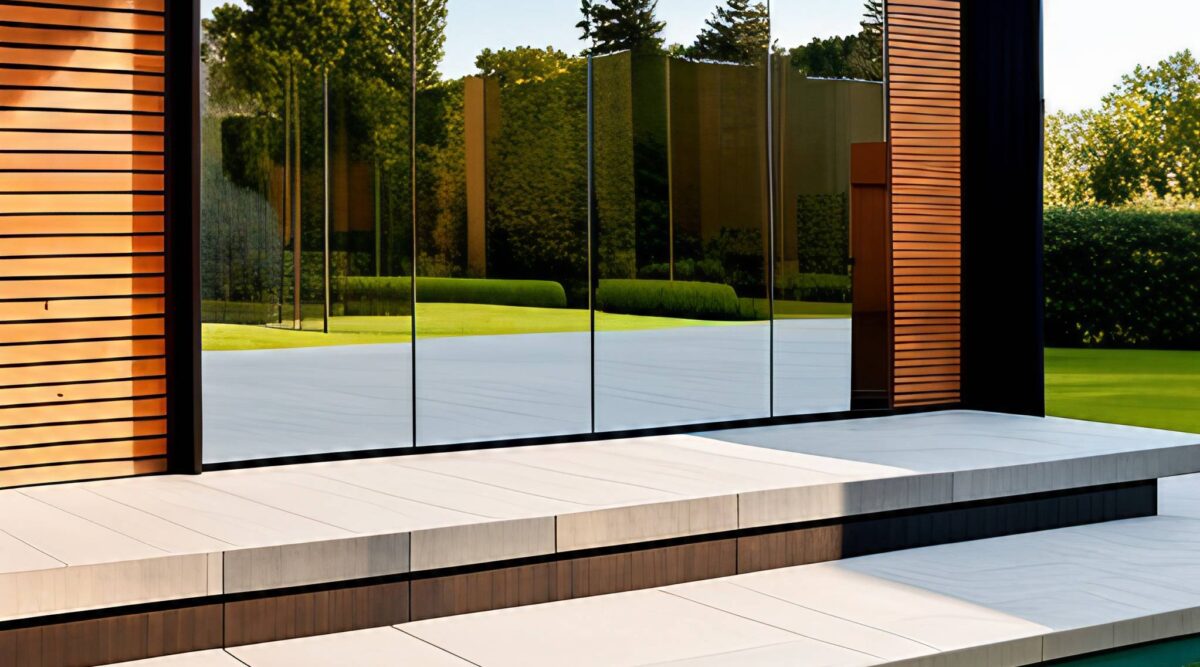
Window film offers several benefits that make it an attractive option for homeowners and interior designers alike. One of the primary advantages is its ability to provide privacy without sacrificing natural light, allowing you to enjoy the sunlight without feeling exposed. This is particularly useful in urban settings where buildings are often in close proximity. Moreover, window film is effective in reducing glare, which can improve comfort and visibility in spaces with screens or reflective surfaces.
Additionally, window film enhances energy efficiency by blocking harmful UV rays, which can cause fading and damage to furniture, flooring, and artwork. This UV protection also contributes to maintaining a consistent indoor temperature, potentially lowering heating and cooling costs. Furthermore, window film comes in a variety of styles, from clear to frosted or decorative patterns, allowing you to customize the look to suit any design aesthetic. Whether you’re aiming for a minimalist approach or a bold decorative statement, there’s a window film option to match your vision.
Tools and Materials You’ll Need
Before starting the installation process, gather the following tools and materials. Having everything on hand will streamline the process and ensure a smooth application.
- Window film of your choice: Consider the specific needs of your space, such as privacy, UV protection, or decorative elements.
- Spray bottle filled with a solution of water and a few drops of dish soap: This solution acts as a lubricant to help position the film.
- Squeegee: Essential for removing air bubbles and ensuring a smooth, even application.
- Utility knife or sharp blade: Necessary for trimming the film to fit your window precisely.
- Measuring tape: Accurate measurements are crucial for cutting the film to the correct size.
- Lint-free cloth: Used for cleaning the window and ensuring no debris is trapped under the film.
- Ruler or straight edge: Helpful for cutting straight lines and achieving a neat finish.
- Window cleaner: A clean surface is vital for a successful application.
- Cutting mat or surface protector: Protects your work surface from scratches when cutting the film.
By assembling these tools and materials in advance, you set yourself up for a successful installation process. Each item plays a critical role in ensuring that the film is applied smoothly and effectively.
Preparing the Window
Proper preparation is key to a successful window film application. A well-prepared window surface can make the difference between a seamless application and one plagued with bubbles and imperfections. Follow these steps to ensure your window is ready:
Cleaning the Window
Start by thoroughly cleaning the window surface with a window cleaner and a lint-free cloth. Remove any dirt, dust, or debris, as these can create bubbles or imperfections under the film. Pay special attention to the edges and corners, as even small particles can disrupt the film’s adhesion. For stubborn spots, consider using a gentle scrubber or razor blade to ensure the glass is perfectly clean and smooth.
It’s crucial to avoid using ammonia-based cleaners, as they can leave a residue that interferes with the film’s adhesive properties. Instead, opt for a mild, streak-free window cleaner that will leave the glass perfectly clear. Once cleaned, dry the window thoroughly with a lint-free cloth to prevent any moisture from getting trapped under the film.
Measuring and Cutting the Film

Measure the dimensions of the window pane using a measuring tape. Add an extra inch to each measurement to allow for trimming once the film is applied. This extra margin gives you some leeway to make adjustments without worrying about a perfect fit right from the start. Use a cutting mat and utility knife to cut the window film to size, ensuring straight edges with the help of a ruler or straight edge.
When cutting the film, take your time to ensure precision. A straight, clean cut will make the installation process much easier and result in a more professional appearance. If you’re working with patterned film, pay attention to the design orientation to ensure it aligns correctly on the window.
Applying the Window Film
With the window prepared and film cut to size, you’re ready to begin the application process. This is where your careful preparation will pay off, leading to a smooth and efficient installation.
Wetting the Window
Fill a spray bottle with a mixture of water and a few drops of dish soap. Generously spray the solution onto the window surface. This will help the film slide into place and prevent it from sticking prematurely. The soapy water acts as a temporary barrier, allowing you to adjust the film until it is perfectly positioned.
It’s important to apply enough solution to keep the window surface consistently wet throughout the application process. If the window begins to dry, simply reapply the solution to ensure the film can be maneuvered easily.
Removing the Film Backing
Carefully peel the backing off the window film, starting at one corner. As you peel, spray the adhesive side of the film with the soapy water solution. This will make it easier to adjust the film during application. Be gentle during this step to avoid stretching or creasing the film, which could result in an uneven application.
By spraying the adhesive side, you minimize the risk of the film sticking prematurely, giving you the flexibility to reposition it as needed. Ensure that the adhesive side remains wet throughout the process to maintain its adjustability.
Positioning the Film
Position the window film on the wet window surface, starting at the top and working your way down. Use your hands to gently smooth out any air bubbles as you go. The soapy water solution allows you to reposition the film as needed. Take your time during this step to ensure the film is aligned correctly and covers the entire window surface.
Once the film is in place, use a squeegee to press it firmly against the glass, starting from the center and working outward. This will help remove any air bubbles and ensure a smooth finish. The squeegee should glide easily over the film, pushing out any trapped air or water to the edges.
Trimming the Edges
Once the film is in place, use a squeegee to press it firmly against the glass, starting from the center and working outward. This will help remove any air bubbles and ensure a smooth finish. Use a utility knife to trim any excess film from the edges of the window, following the outline of the glass. For the best results, hold the knife at a slight angle and use a steady hand to achieve a clean cut.
Trimming the edges not only improves the appearance but also prevents the film from peeling or lifting over time. Make sure to remove any small strips of excess film to avoid any interference with the overall look and function of the application.
Finishing Touches
After applying the film, take a few additional steps to ensure a flawless finish. These final touches will enhance the durability and visual appeal of your window film installation.
Squeegeeing the Film
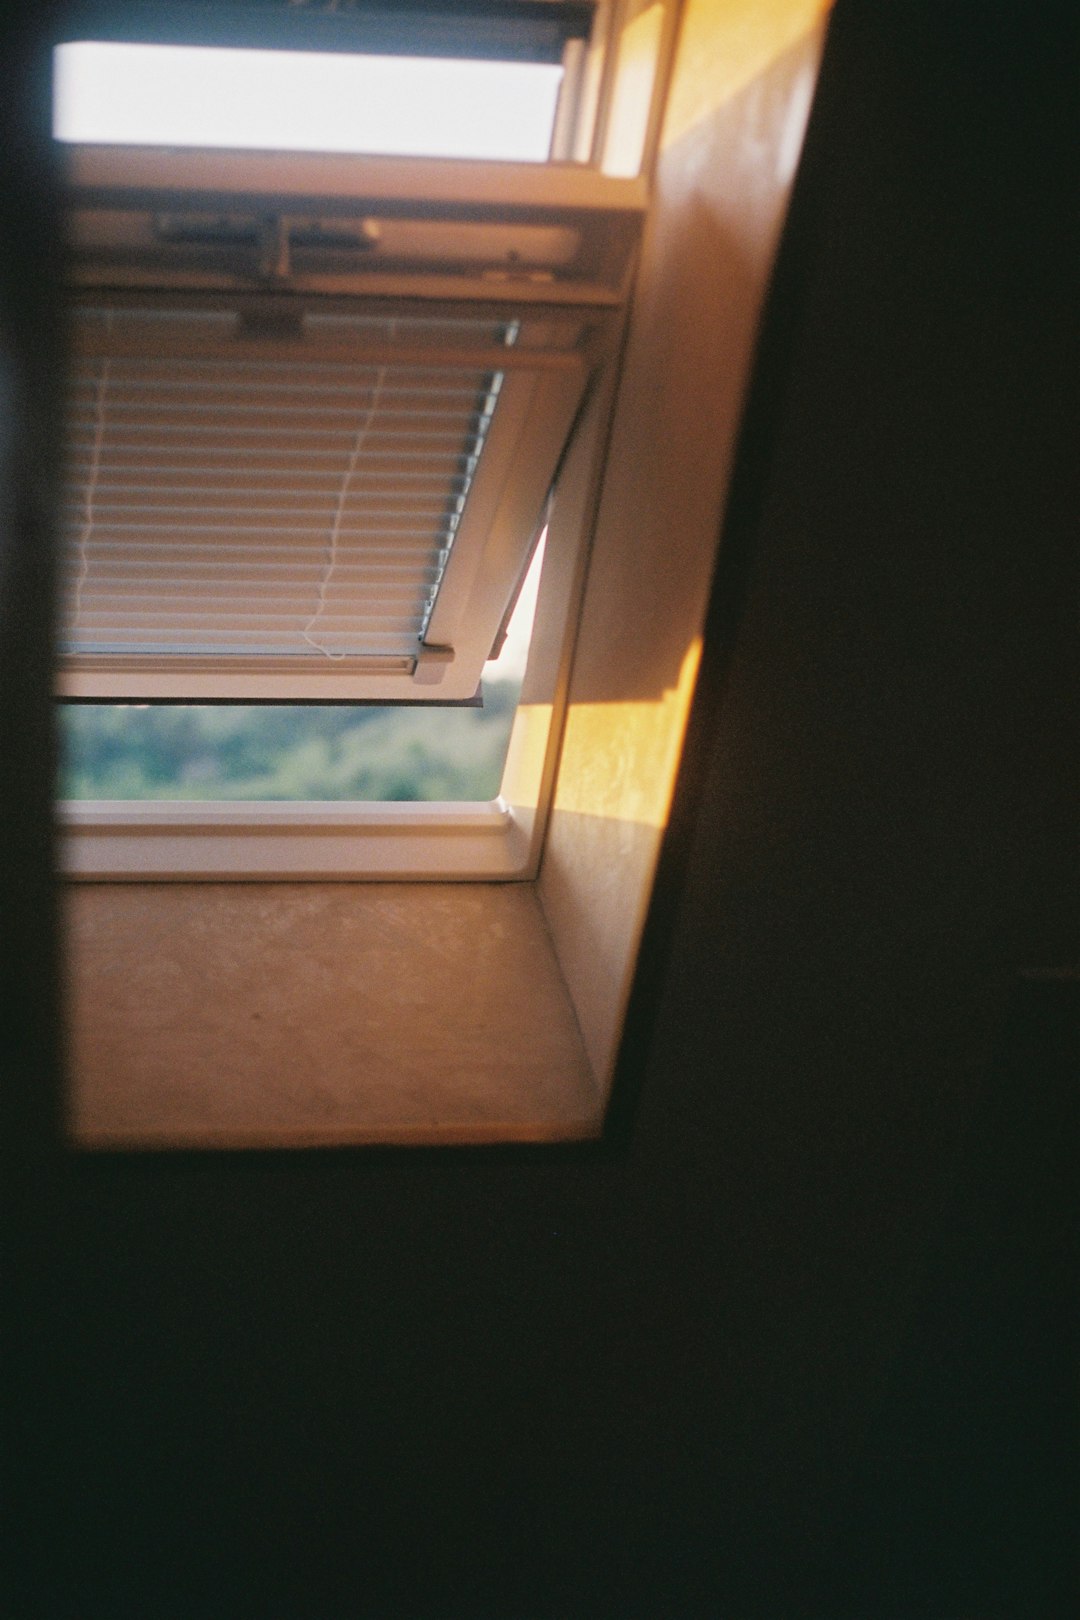
by Maryam F. (https://unsplash.com/@encoreunemaryam)
Go over the entire surface of the film with a squeegee, applying firm pressure to remove any remaining air bubbles or water. This step is crucial for achieving a professional appearance. The squeegee should glide smoothly over the film, ensuring that it adheres evenly to the glass surface.
Pay special attention to the edges and corners, where air bubbles are most likely to remain. By thoroughly squeegeeing the film, you ensure that it is securely bonded to the window, reducing the risk of peeling or lifting over time.
Drying and Curing
Allow the film to dry and cure for at least 24 to 48 hours. During this time, avoid touching or cleaning the film, as this can disrupt the adhesive bond. The curing process is essential for the film to adhere fully and achieve its maximum durability.
If possible, avoid exposing the film to extreme temperature changes or direct sunlight during the curing period, as this can affect the adhesive. Once the film has fully cured, it will be securely attached to the window and ready to withstand everyday wear and tear.
Maintaining Your Window Film
To keep your window film looking its best, follow these maintenance tips. Proper care will extend the life of your film and ensure it continues to perform effectively.
- Clean the film with a soft, lint-free cloth and a mild soapy water solution. Avoid using abrasive cleaners or tools that could scratch the surface. Regular cleaning will prevent dirt buildup and maintain the film’s clarity and appearance.
- Inspect the film periodically for signs of wear or damage, especially around the edges. Addressing small issues promptly can prevent them from developing into more significant problems.
- If you notice any peeling or bubbling, address the issue promptly to prevent further damage. In many cases, small bubbles can be smoothed out with a squeegee, while peeling edges may require additional adhesive or replacement.
By following these maintenance practices, you can ensure that your window film remains an attractive and functional addition to your space for years to come.
Conclusion
Applying window film is an effective way to enhance both the beauty and functionality of your interior spaces. With the right tools and a little patience, you can achieve a professional finish that elevates your design while providing energy-saving benefits. The versatility of window film allows it to meet a variety of needs, from enhancing privacy to reducing glare and updating the overall look of a room.
Whether you’re looking to add privacy, reduce glare, or simply update the look of a room, window film is a versatile solution that can meet a variety of needs. By following this step-by-step guide, you’ll be well on your way to mastering the art of window film installation. Remember, practice makes perfect, so don’t hesitate to experiment with different styles and techniques to find the perfect fit for your project. Happy installing!
With each installation, you’ll gain confidence and expertise, enabling you to tackle more complex projects and customize your space to your exact specifications. Enjoy the process and the transformation it brings to your living or working environment.