Applying privacy tint to your home windows is a practical and stylish way to enhance the aesthetics of your living spaces while ensuring privacy and energy efficiency. In this article, we will guide you through the process of applying privacy window film, discuss its benefits, and offer tips to ensure a professional finish. Whether you are a homeowner or an interior designer, understanding how to effectively use privacy window film can transform your approach to window treatments.

Privacy window film is a versatile solution designed to enhance privacy, reduce glare, and improve energy efficiency by blocking out harmful UV rays. It is available in various styles, including frosted, mirrored, and decorative patterns, allowing you to choose the one that best suits your design preferences and functional needs.
Benefits of Privacy Tint for Home Windows
- Enhanced Privacy: Privacy window film allows you to enjoy natural light without compromising on privacy. It prevents outsiders from peeking in, making it ideal for street-facing windows or ground-level rooms.
- UV Protection: By blocking up to 99% of harmful UV rays, privacy window film protects your furniture, flooring, and artwork from fading, thereby prolonging their lifespan.
- Energy Efficiency: It helps in regulating indoor temperatures by reducing heat during summer and retaining warmth in winter, leading to lower energy bills.
- Aesthetic Appeal: With a variety of designs and finishes, privacy films can enhance the look of your windows, adding a touch of elegance to your home.
Preparing for Installation

Before you start the installation process, gather the necessary tools and materials. Here’s what you’ll need:
- Privacy window film of your choice
- Measuring tape
- Utility knife or scissors
- Squeegee or credit card
- Spray bottle with soapy water
- Lint-free cloth
- Ruler or straight edge
Measuring and Cutting the Film
- Measure Your Windows: Use a measuring tape to determine the dimensions of the window you wish to cover. Add an extra inch to each side to ensure you have enough material to work with.
- Cut the Film: Roll out the window film on a clean, flat surface. Using your measurements, cut the film to size with a utility knife or scissors. Make sure to cut the film slightly larger than the window to allow for adjustments.
Applying Privacy Window Film

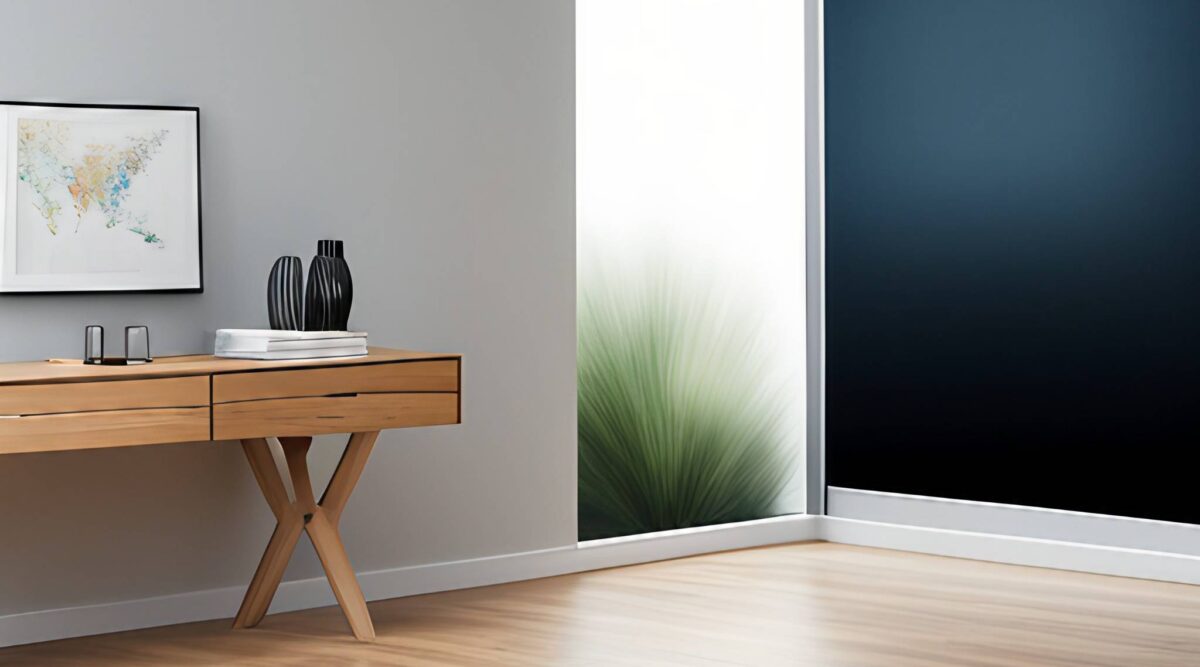
by Garvit Nama (https://unsplash.com/@garvitnama)
Step 1: Clean the Window
Before applying the film, it’s crucial to have a clean surface. Use a lint-free cloth and soapy water to clean the window thoroughly, removing any dust, dirt, or grease. Dry the window completely with a clean cloth.
Step 2: Wet the Window
Fill a spray bottle with a mixture of water and a few drops of dish soap. Spray the solution generously over the window surface. This will allow you to easily adjust the film as you apply it.
Step 3: Peel and Position the Film
Carefully peel the backing from the privacy film, exposing the adhesive side. Hold the film by the edges to avoid fingerprints. Place the adhesive side against the wet window, starting at the top and working your way down. The soapy water will help you slide the film into the correct position.
Step 4: Smooth Out the Film
Once the film is positioned, use a squeegee or a credit card wrapped in a cloth to smooth out any air bubbles and excess water. Start from the center of the window and work your way to the edges. Wipe away any excess water with a lint-free cloth.
Step 5: Trim the Excess Film
After the film is applied and smoothed out, use a utility knife and a straight edge to trim the excess film from the edges of the window. Be careful not to cut into the window frame.
Tips for a Professional Finish
- Work in a Dust-Free Environment: Ensure the area is as clean as possible to prevent dust from getting under the film during application.
- Avoid Direct Sunlight: Apply the film on a cloudy day or in the shade to prevent the film from drying too quickly, which can lead to bubbles.
- Take Your Time: Rushing can lead to mistakes. Take your time to ensure the film is applied smoothly and evenly.
Maintenance and Care
Once the privacy film is applied, it requires minimal maintenance. Here are a few tips to keep it looking its best:
- Cleaning: Use a soft cloth and a gentle cleaning solution to clean the film. Avoid abrasive materials that might scratch the surface.
- Avoid Excessive Moisture: While the film is water-resistant, prolonged exposure to moisture can weaken the adhesive over time.
Conclusion
Privacy window film is an excellent investment for homeowners and interior designers looking to balance aesthetics with functionality. By following the steps outlined in this guide, you can achieve a professional-looking installation that enhances privacy, protects your interiors, and contributes to energy efficiency.
Whether you are updating your home or working on a client’s project, privacy window film offers a cost-effective and stylish solution to modern window treatments. Transform your windows today and enjoy the many benefits of privacy tint for home windows.